
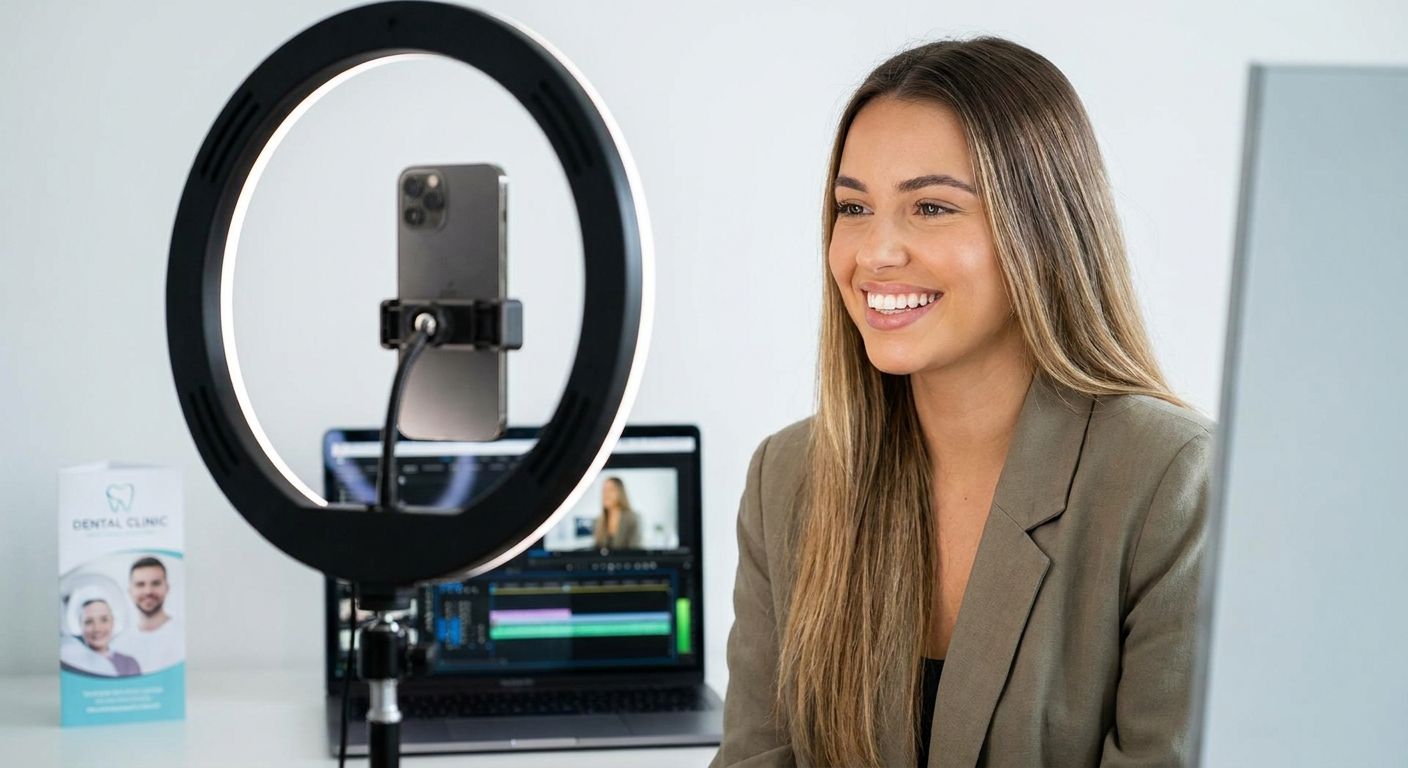
Cosmetic dentistry for content creators is smile care built around 4K cameras, ring lights, and back-to-back takes, with the goal of a smile that reads clean and confident in every close-up — not just across a dinner table. Creators need camera-tested shades, chip-proof edges, and treatment timelines that survive a filming calendar, which is a different set of priorities than a typical adult patient walking in for a routine cleaning.
- Cosmetic dentistry for content creators in 2026 starts with a camera audit, not a treatment menu.
- Porcelain veneers fix chips and gaps permanently; teeth whitening is the faster, reversible first move.
- Jaw clenching from long recording sessions is a common but under-treated issue among creators.
- Dental Arts of Atlantis pairs a digital smile design consultation with a realistic content-calendar timeline.
Why cosmetic dentistry matters for content creators
A ring light and a macro lens do something a bathroom mirror never does: they exaggerate every yellow undertone, every chip, and every asymmetry in your smile line. What looks fine at arm's length can look uneven on a 4K frame paused mid-laugh. This is the same close-range scrutiny cosmetic dentistry for real estate agents and professionals addresses for people whose faces are their business card — creators just add lighting rigs and slow-motion replay to the equation.
Long recording sessions also put a specific kind of strain on your jaw. Talking for hours, holding an exaggerated smile for thumbnails, or clenching through a tense take adds up over a filming year in ways a once-a-week schedule never would. And because a shoot day can't be rescheduled around a sore tooth, treatment planning for creators has to account for downtime, sensitivity windows, and how a new veneer or crown reads on camera before it ever gets used in a launch video.
Steps to build a camera-ready smile in 2026
Audit your smile on camera before booking anything
Don't start with a treatment — start with footage. Pull your last few videos and actually look at your teeth in the format your audience sees them.
- Screenshot close-ups under your normal ring light or key light setup
- Compare how your teeth look on your phone's front camera versus your main recording camera
- Note whether staining looks worse in warm-toned lighting or cool-toned lighting
- Flag any visible chips, gaps, or uneven edges that show up mid-laugh or mid-sentence
- Check your smile line for gum asymmetry that only shows up when you're talking, not posing
Whiten conservatively, then reassess in real footage
Whitening is the cheapest, fastest fix and it should come before anything permanent. Start with the least invasive option and test it under your actual filming setup, not just in a bathroom mirror.
- Try an over-the-counter whitening strip cycle first if staining is mild and recent
- Book professional in-office whitening for a faster, more even result before a launch date
- Reshoot a test clip after whitening to confirm the shade doesn't look artificial or gray on camera
- Read up on how to whiten teeth safely without damaging enamel before repeating any at-home kit
- Space out whitening sessions instead of stacking them the week of a big shoot, since sensitivity peaks right after treatment
“If your new shade looks brighter than a paper towel under studio lights, you picked the wrong shade.”
Fix chips, gaps, and worn edges permanently
Whitening won't fix structural issues, and small chips get worse the more content you film with your mouth open in slow motion. This is where you move from cosmetic maintenance to actual repair.
- Composite bonding handles small chips fast and costs less upfront, but it stains and chips again over time
- Porcelain veneers correct chips, gaps, and worn edges permanently and hold color better under repeated lighting exposure
- Ask about the best veneer material for a natural-looking smile rather than picking a shade off a trending video
- Budget several weeks of lead time for veneer prep and fitting before a rebrand or product launch
- Avoid choosing an ultra-white shade that looks convincing in a filter but flat and opaque in unedited raw footage
Address your gum line and lip dynamics for close-ups
A gummy smile or thin upper lip can read very differently on camera than in person, especially when you're mid-sentence and your lip pulls up higher than usual.
- Watch playback in slow motion to see how much gum shows during a full smile versus a talking smile
- Consider a lip flip or filler if thin lips make your smile look smaller on camera than it does in person
- Review options for lip flip and facial fillers for a fuller smile if lip volume is the main issue, not tooth shape
- Get a professional opinion before assuming a gum contouring procedure is needed — sometimes it's a lighting angle problem, not a dental one
Manage jaw tension from long recording sessions
Creators who talk on camera for hours, record multiple takes, or hold a smile for thumbnail shoots put repetitive strain on the jaw that builds quietly over months.
- Track whether jaw soreness, clicking, or headaches show up after long filming days specifically
- Try a warm compress and jaw stretches between takes if tension builds mid-session
- Ask about a custom night guard if clenching happens overnight after high-pressure shoot days
- Bring up chronic jaw tightness at your next visit instead of waiting for it to turn into pain that affects your voice or on-camera expression
Build a maintenance routine between shoots
A camera-ready smile isn't a one-time fix — it needs upkeep that fits around a content calendar instead of fighting it.
- Rinse or brush after coffee, wine, or dark-colored drinks before they set into whitened enamel
- Keep a touch-up whitening kit on hand for the week before a big filming block
- Book cleanings on a predictable schedule so staining never builds up right before a launch
- Protect veneers or bonding from chipping by avoiding ice-biting or opening packaging with your teeth on camera
Get a same-page plan before a launch or brand deal
If you're combining more than one treatment — whitening, bonding, veneers, or a lip flip — sequencing matters more than speed.
- Map out which treatments need weeks of lead time versus same-day turnaround
- Ask what a full digital smile design consultation looks like before committing to a multi-step makeover
- Build in a buffer week after any procedure before a major shoot in case of swelling or sensitivity
- Confirm which parts of the plan are reversible if a brand deal or filming schedule shifts
Plan your camera-ready smile
Get a treatment timeline built around your filming schedule, not a generic checkup slot.
Comparing cosmetic options for content creators
| Option | Best for | Key limitation |
|---|---|---|
| Professional teeth whitening | Fast, camera-safe brightening before a shoot | Results fade over months and need touch-ups |
| Composite bonding | Small chips on a tight budget or timeline | Less stain-resistant than porcelain, needs redoing |
| Porcelain veneers | Permanent fix for chips, gaps, or worn edges | Irreversible tooth preparation is required |
| Digital smile design consultation | Planning a multi-treatment makeover before a launch | It's a planning step, not a treatment on its own |
| Lip flip or dermal filler | Softening a gummy smile or adding lip fullness on camera | Temporary, needs repeat sessions to maintain |
Verdict: for creators filming regularly in 2026, start with whitening and a smile audit, then move to bonding or veneers only for structural fixes — don't skip straight to permanent work before testing how your teeth actually read on camera.
Common mistakes content creators make
- Whitening the night before a shoot without testing the result under their actual lighting rig first
- Chasing a trending "ultra-white" shade that looks gray or opaque on unfiltered 4K footage
- Ignoring jaw clenching or clicking symptoms until they start affecting speech or on-camera expression
- Skipping a consultation and repeating over-the-counter whitening kits back-to-back, which raises the risk of enamel sensitivity
- Scheduling veneer prep or bonding the same week as a major launch instead of building in recovery time
FAQ
What’s the best cosmetic dentistry option for content creators in 2026?
Teeth whitening is the best starting point for most creators because it’s reversible and fast, while porcelain veneers are the better fix for chips, gaps, or worn edges that whitening can’t correct. Which one fits depends on whether the issue is color or shape.
Is teeth whitening safe for people who film on camera every week?
Yes, when it’s spaced out and done through a professional or a properly used at-home kit rather than back-to-back over-the-counter cycles. Overdoing whitening frequency is what raises sensitivity risk, not the treatment itself.
How long do veneers last for someone who talks on camera daily?
Veneers are built to hold up under normal daily use, including regular talking and filming, as long as habits like ice-biting or using teeth to open packaging are avoided. Routine checkups catch wear early before it shows up on camera.
Can Invisalign work around a regular filming schedule?
Invisalign trays can be removed for filming and put back in afterward, which makes it more flexible for creators than fixed braces. Consistency between filming blocks still matters for the treatment to stay on track.
Does teeth whitening actually look different on 4K video than in person?
Yes, high-resolution cameras and ring lights pick up yellow undertones and unevenness that are barely visible in person. That’s why testing a whitened shade in real footage matters more for creators than for the average patient.
What causes jaw pain in content creators and podcasters?
Extended talking, repeated takes, and holding exaggerated smiles for thumbnails all add repetitive strain to the jaw over time. Left untreated, that tension can turn into clicking, soreness, or headaches.
How much lead time do I need before a smile makeover for a launch date?
Whitening can be done in days, but bonding or veneers typically need several weeks between consultation, prep, and fitting. Building in a buffer week after any procedure protects against swelling or sensitivity showing up on camera.
Is composite bonding or porcelain veneers better for chipped front teeth on camera?
Composite bonding is faster and cheaper for small chips but stains and chips again sooner, while porcelain veneers cost more upfront and hold color and shape longer under repeated camera exposure. The right choice depends on budget and how often the chip needs to survive close-ups.
One last thing
A detail most creators miss until it's on their own footage: a ring light shifts how white teeth actually look far more than most filters do, which is why a shade that tested fine in a bathroom mirror can look flat or gray in a finished video. Test any cosmetic change under your actual filming light before you commit to it as your on-camera default in 2026.
Related guides